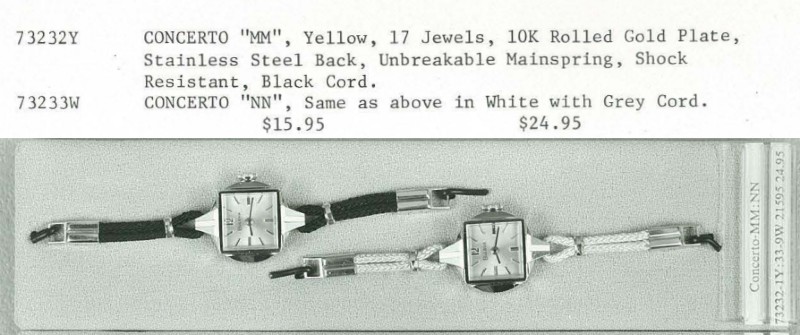
Mystery Solved
With the aid of the folks over at mybulova.com, we now have an identification on this watch. This watch is a 1965 Bulova Concerto NN. With that identification, we can conclude that the band is not original. The 1965 Bulova Concerto would have come with a fabric cord in either black or grey, as shown below.

Beginning the Disassembly
After removing the backplate, the winding stem needs to be removed to get the movement out of the case.
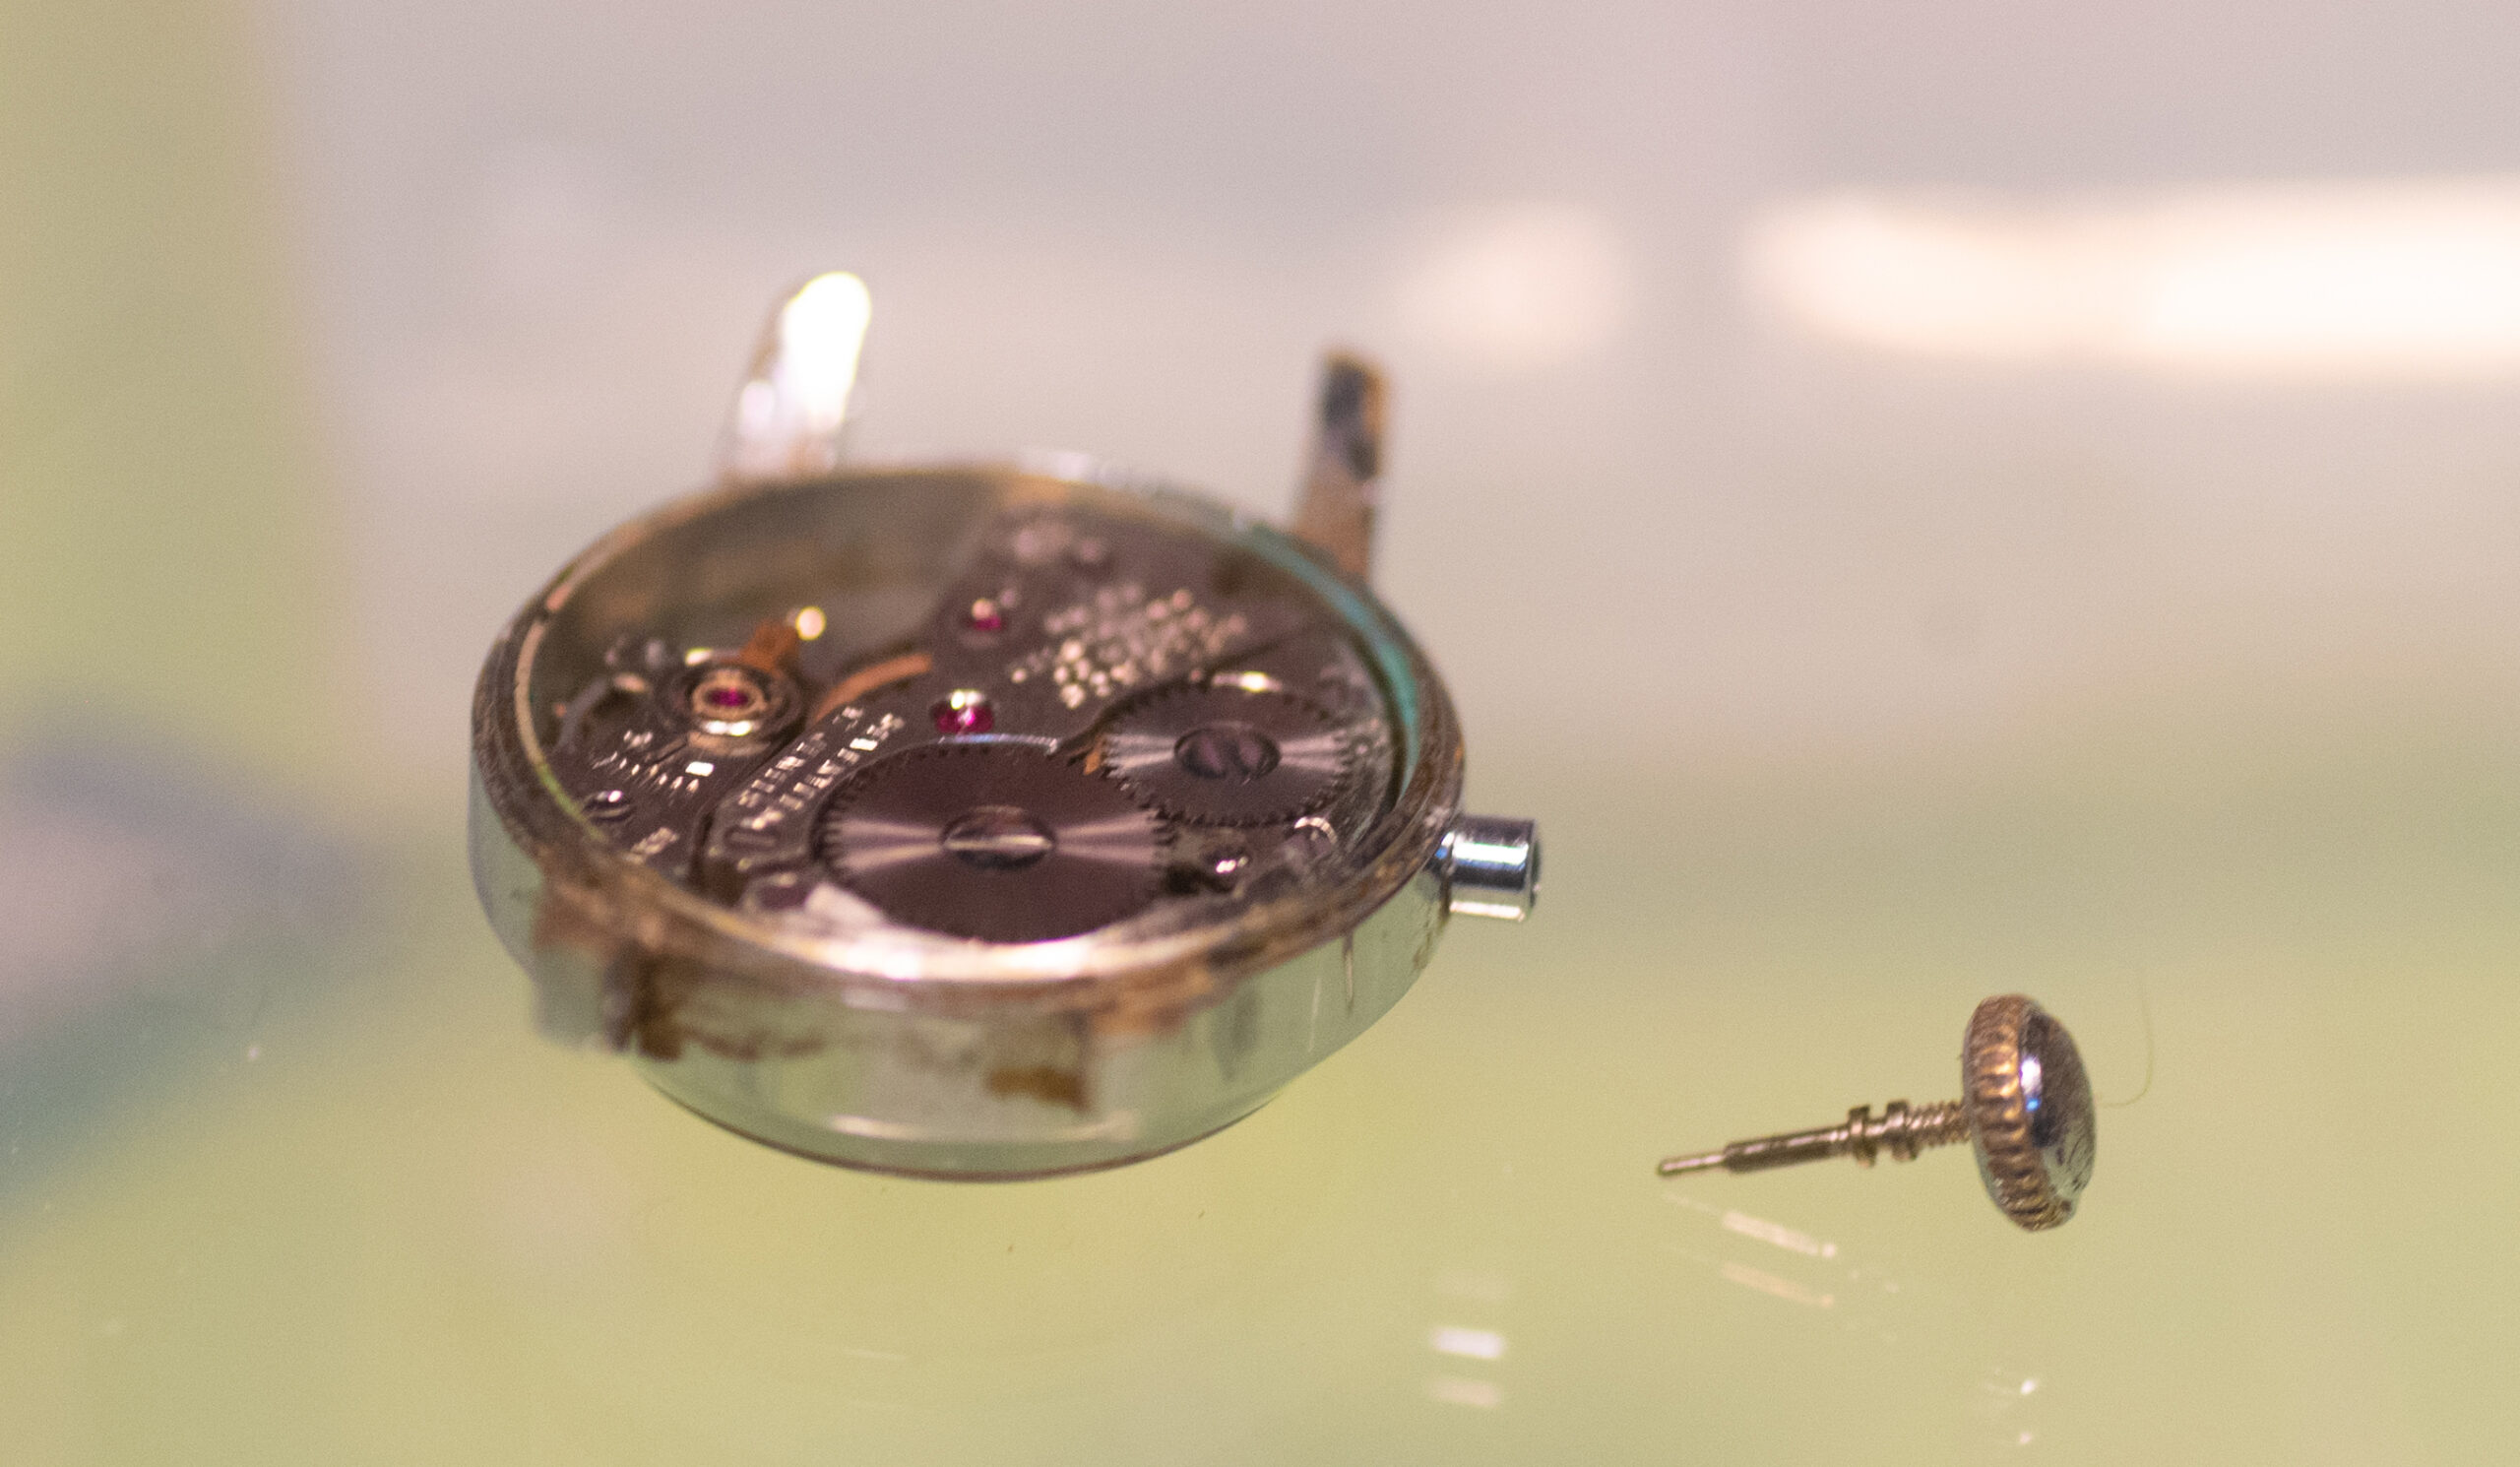
Once the stem had been removed from the watch, the movement came out easily. The case was very dirty with grime in pretty much every crevasse. The movement, however, seemed relatively clean with few immediate signs of wear other than some dust.
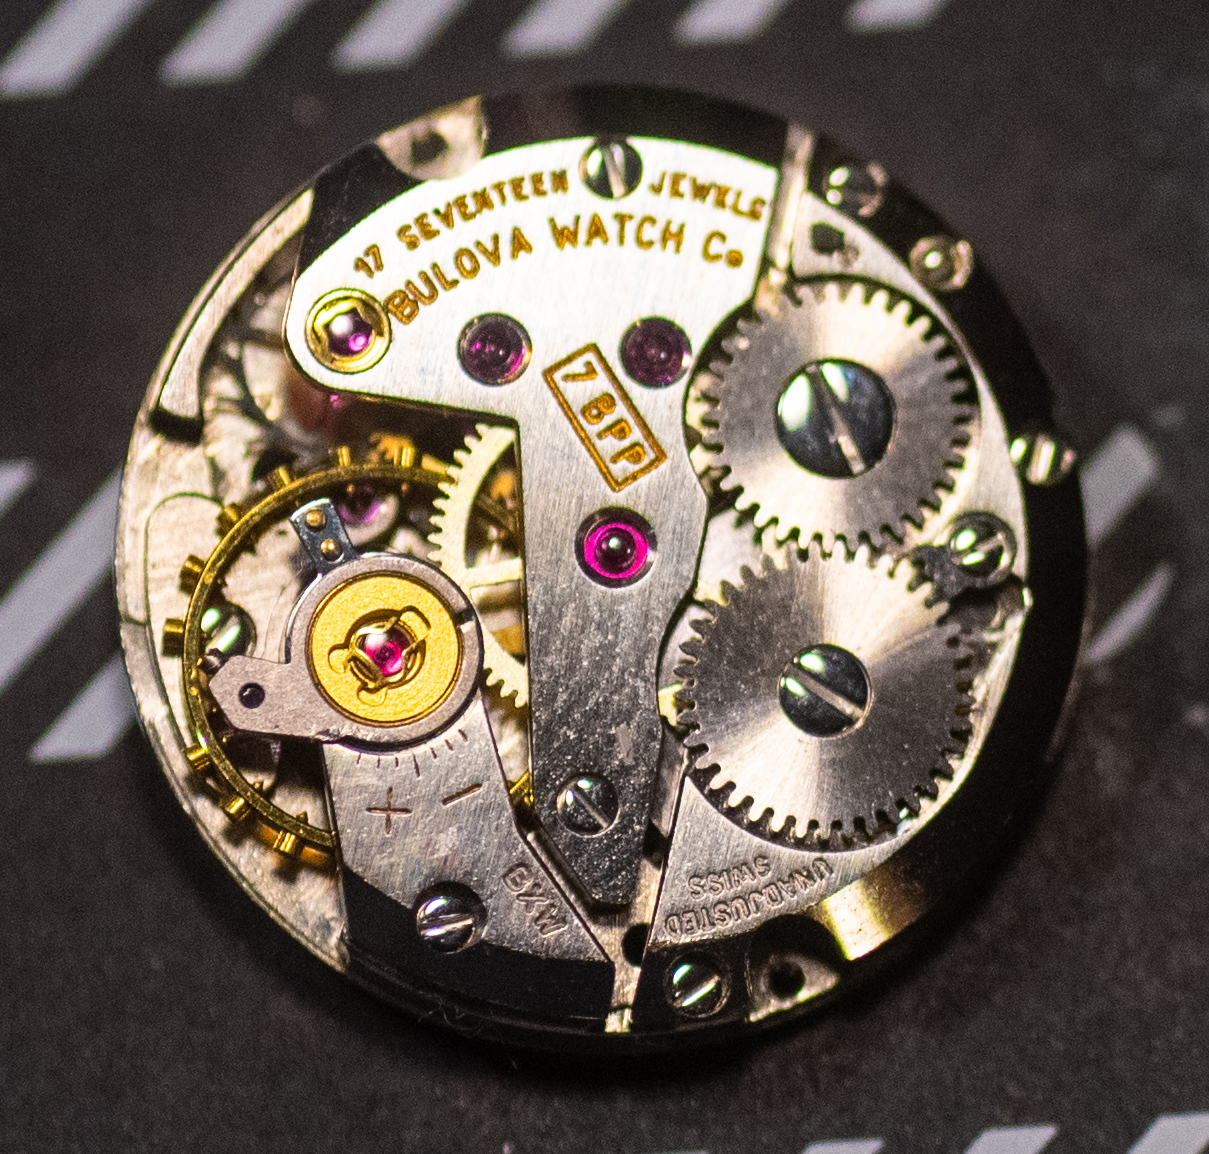
Bulova’s 7BPP movement appears to have been used for several years for small watches such as this one. With the addition of this watch, mybulova.com now has nine examples of watches with the 7BPP movement. It has seventeen pivot jewels.
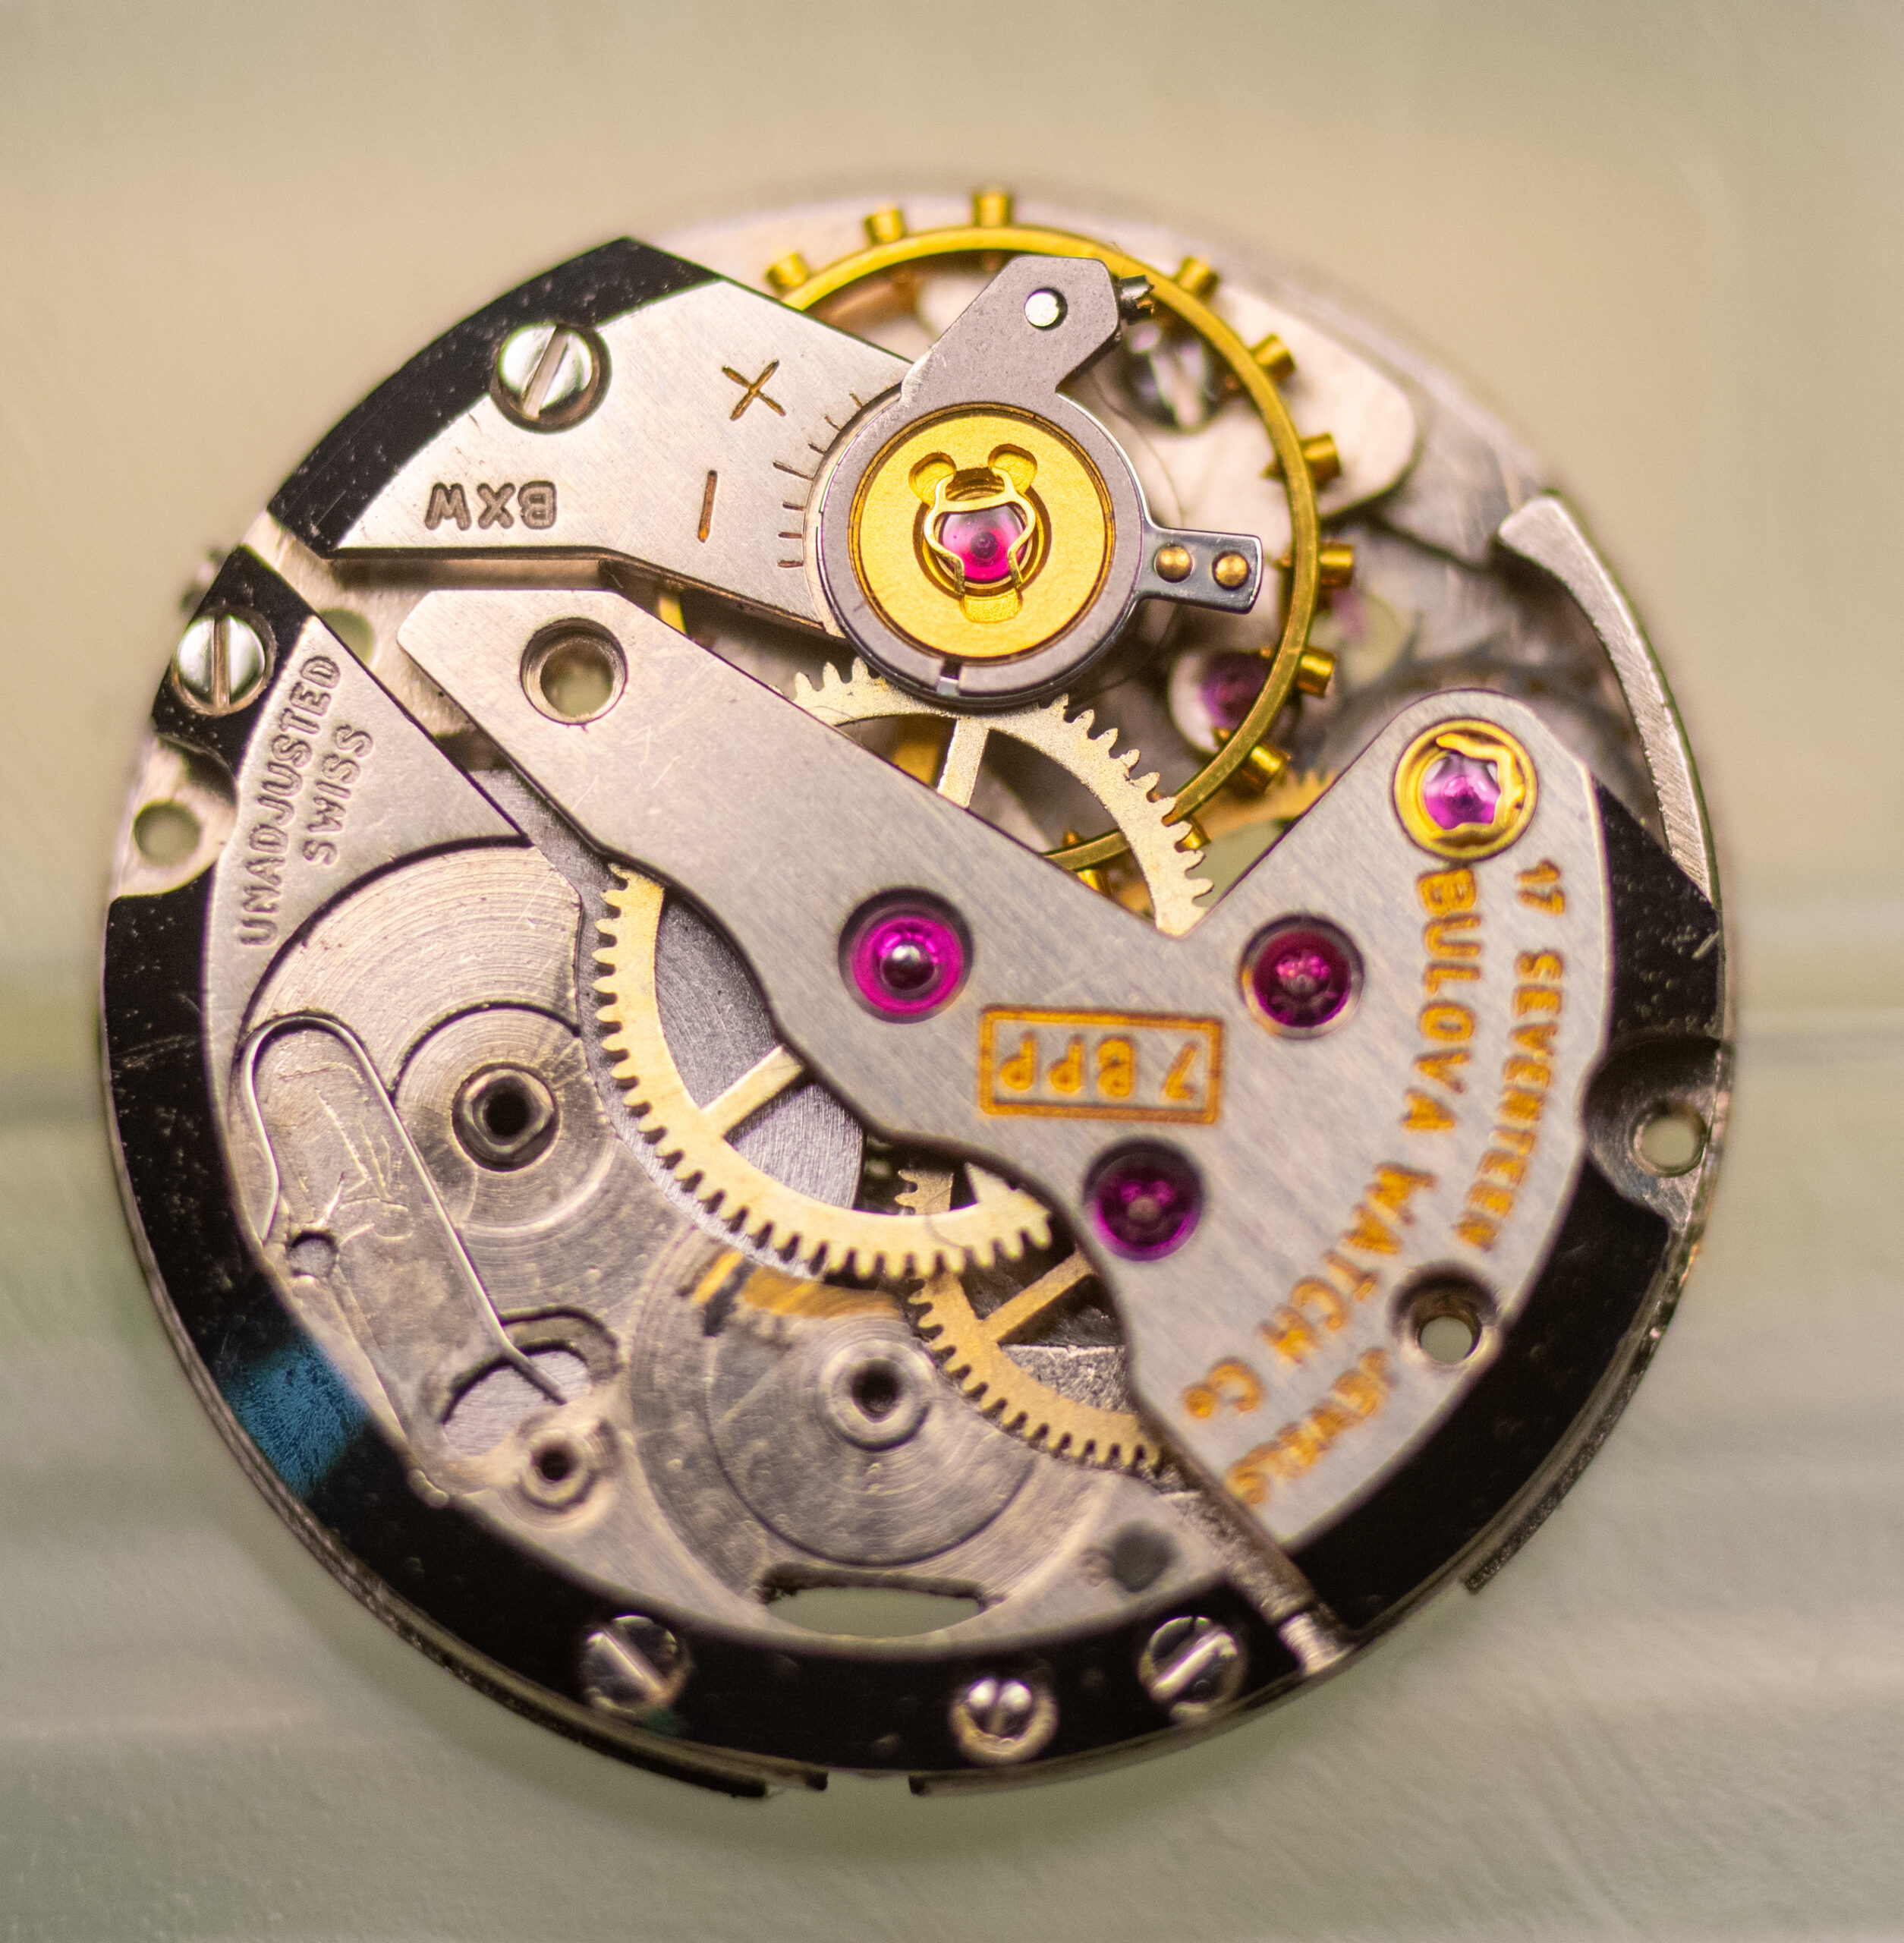
Once out of the case, disassembly of the movement can begin. I have two sets of little containers, one labeled Dial Side and one labeled Back to help me organize the pieces. Being new to this, the order in which I remove parts probably isn’t the most efficient. Generally, I start on the dial side, removing the cannon pinion and anything else easily removed.

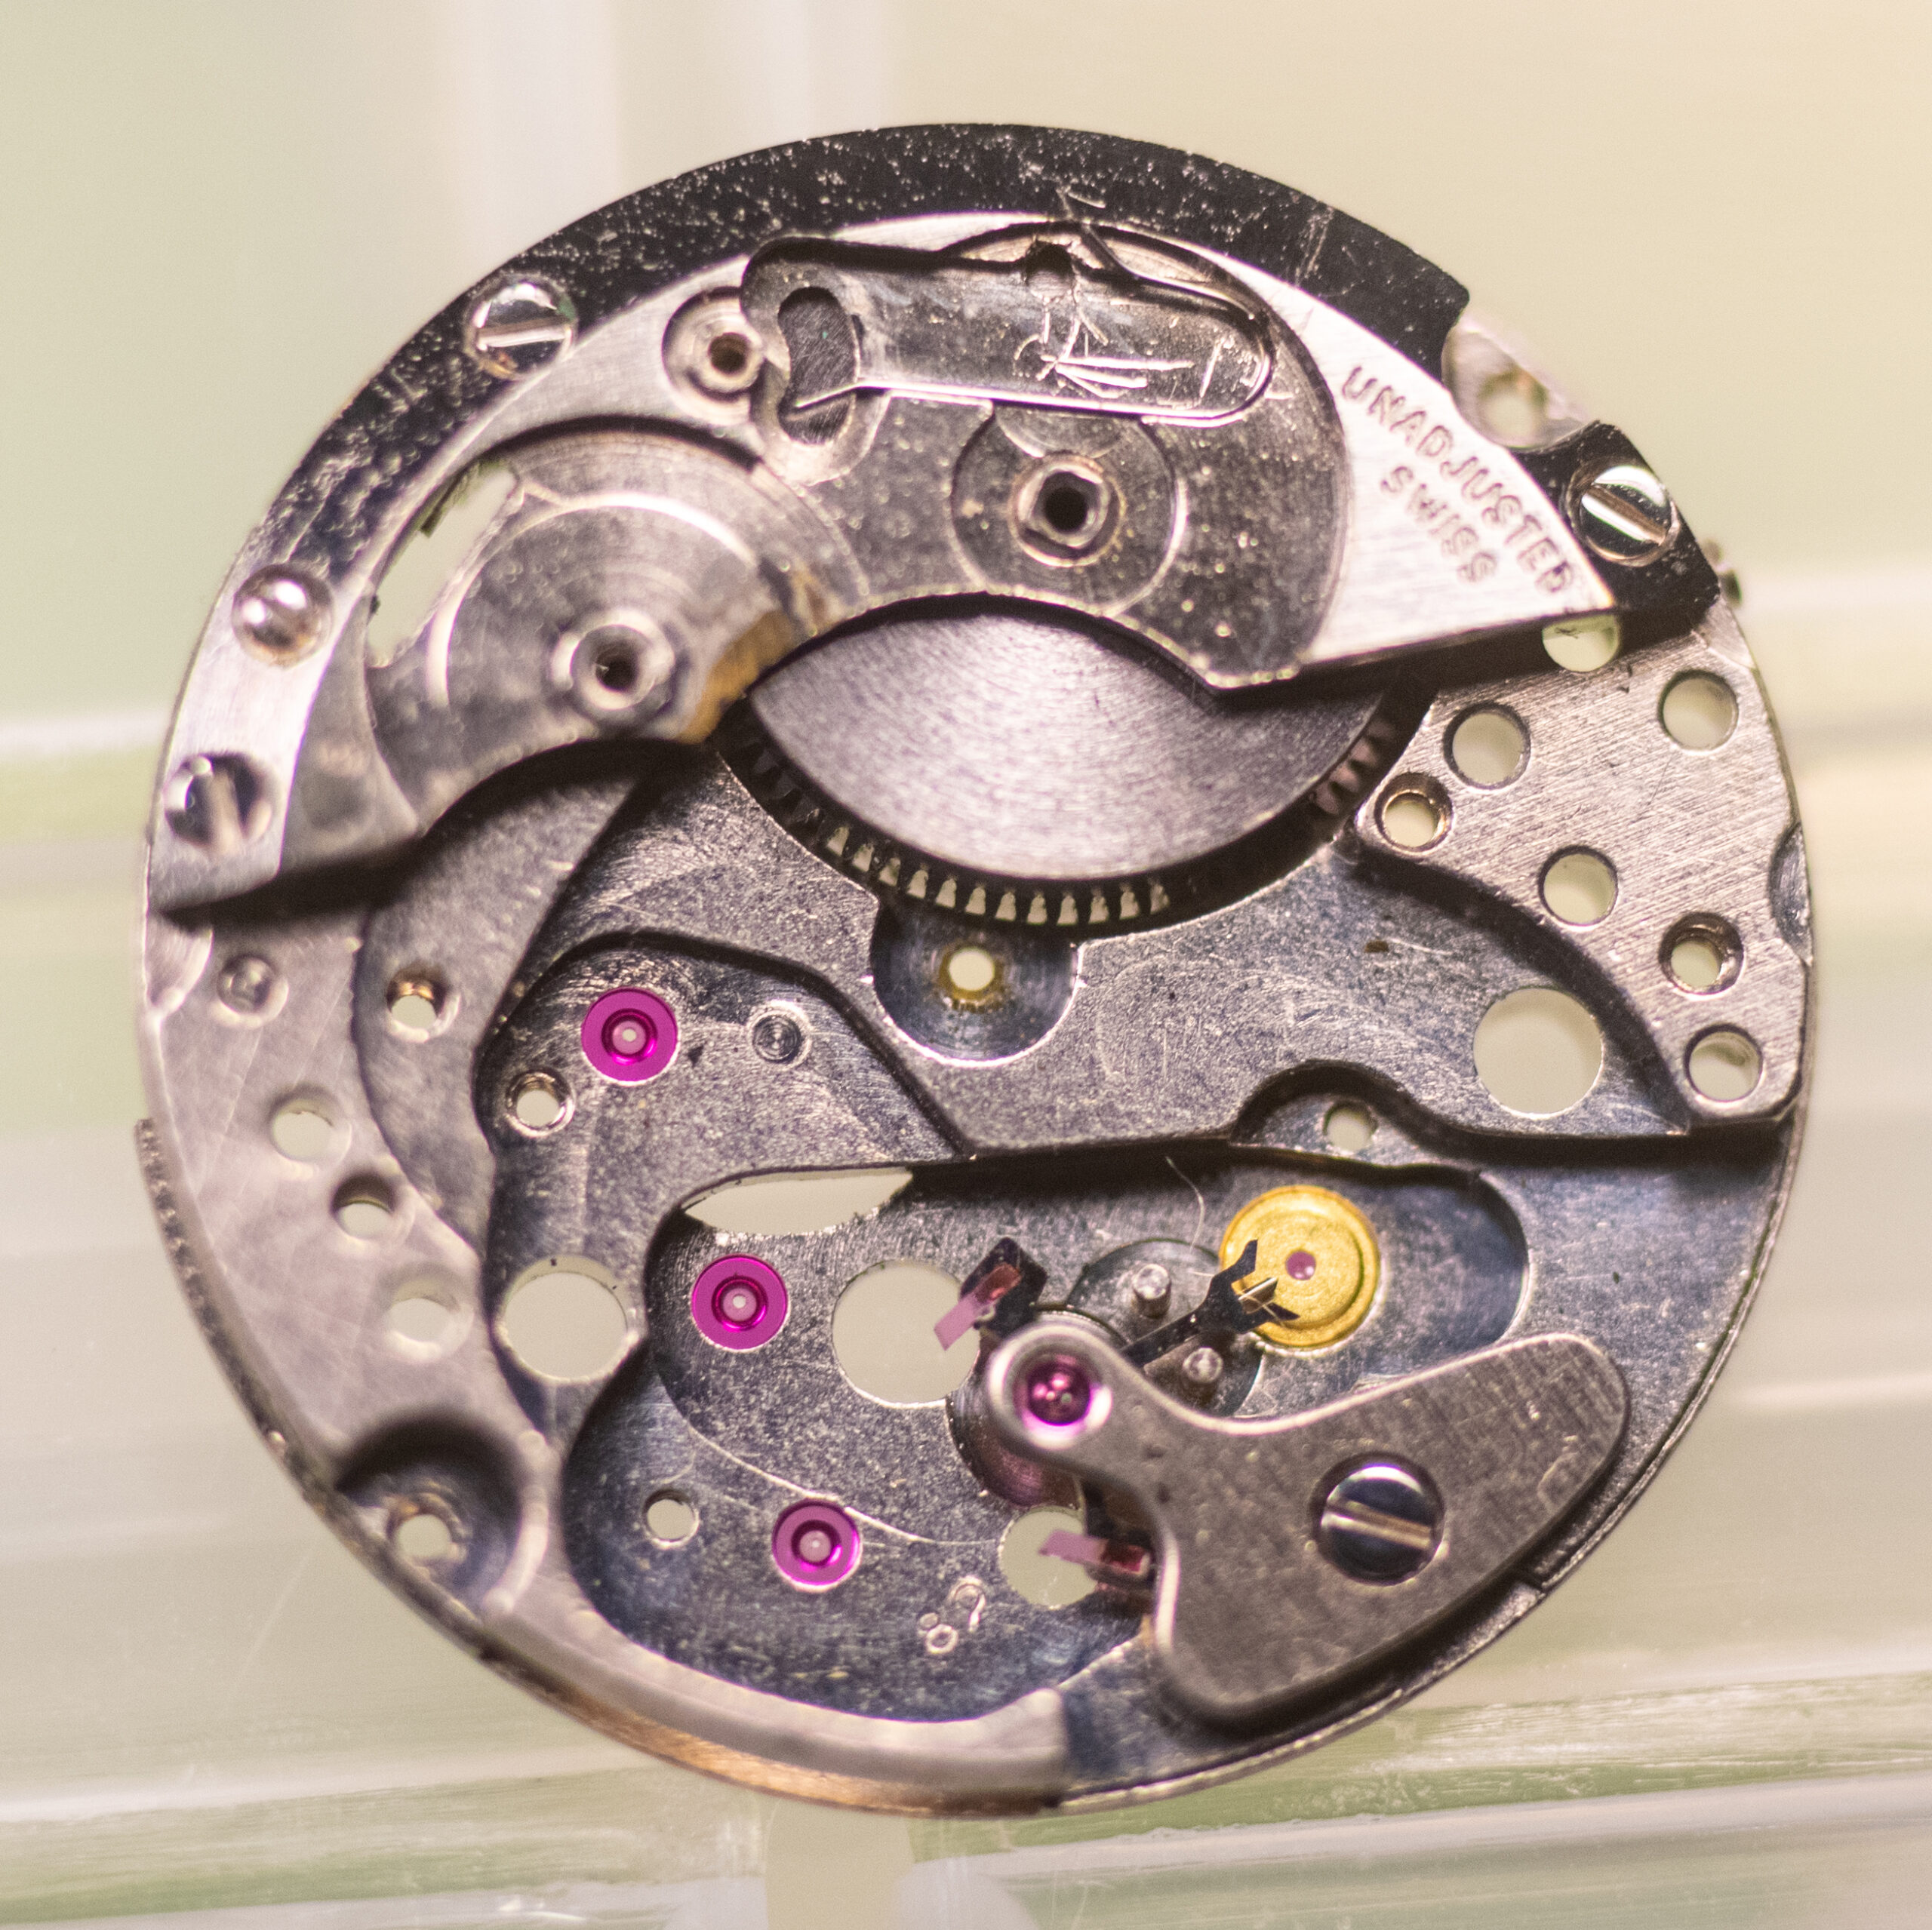
Then, flipping the movement over, I start by removing the winding gears and click, as they are above the main gear train on a plate that needs to be removed.
With those two gears removed, the small spring beneath them can also be removed. Next, the central bridge plate can be removed, along with the plate holding the hairspring. Extra care is needed here as the hairspring is especially fragile. Below is a not-so-great photo of the hairspring to give you an idea of just how thin and tiny it is.

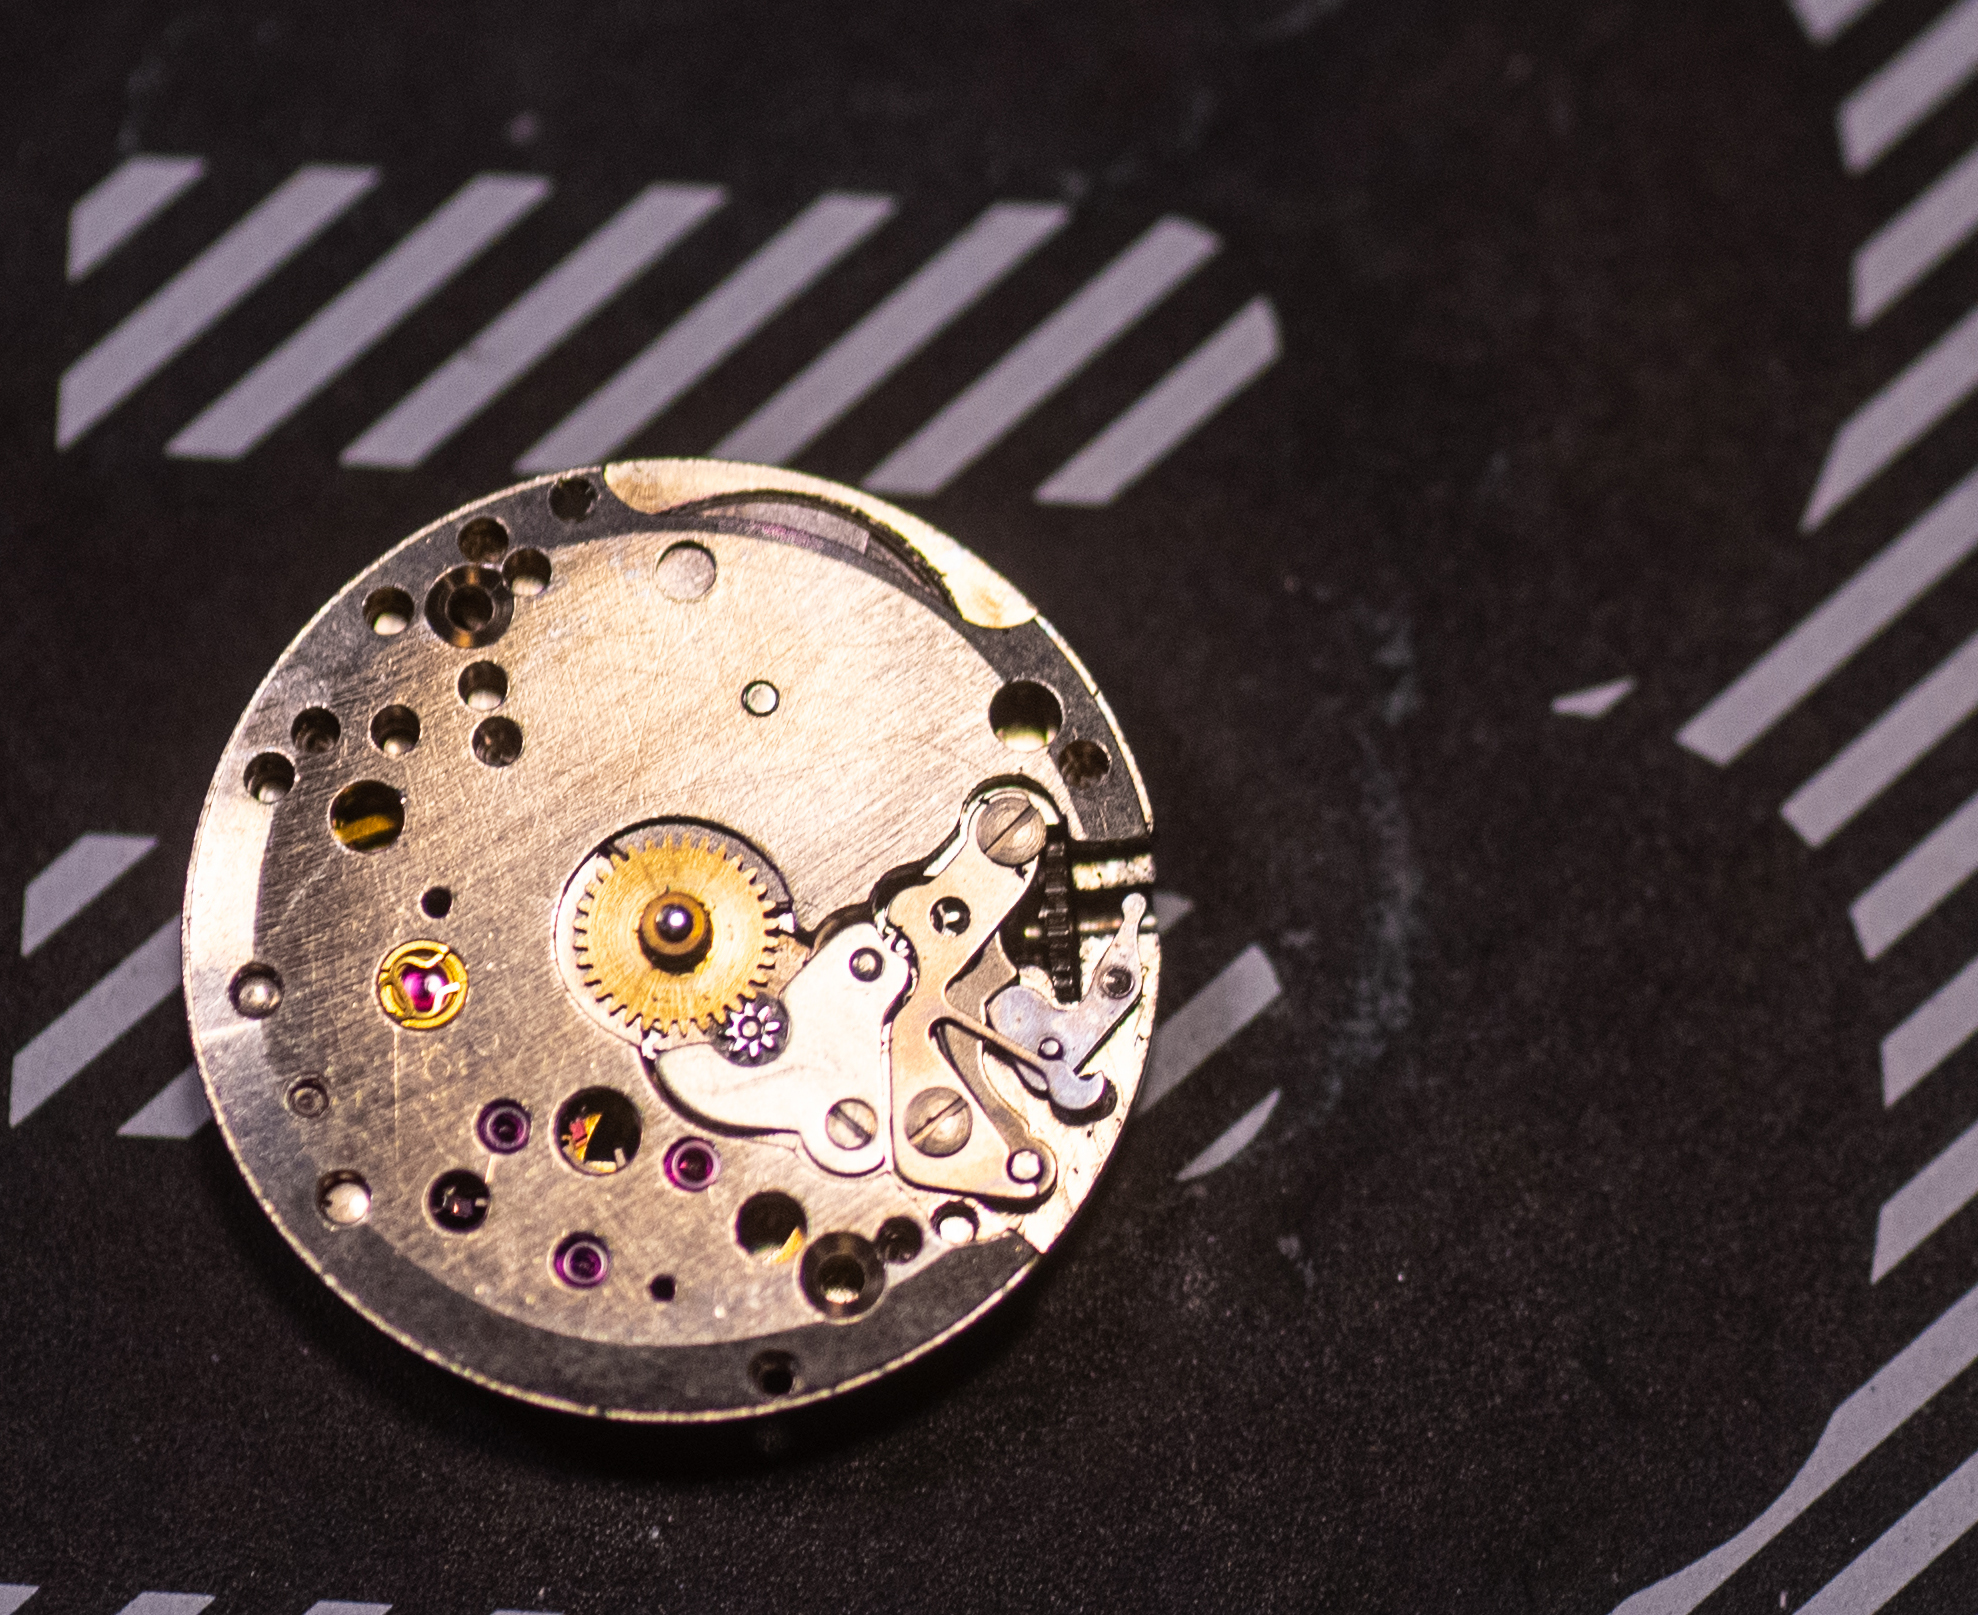
With the hairspring and balance wheel out of the way, it’s a simple matter to remove the three main gears and escape wheel. This should leave the movement looking like the below.
In the picture, this leaves the pallet fork on the bottom-right and the mainspring barrel at the top. The pallet fork is held down by a small plate held in by one screw. This is quickly removed, allowing the pallet fork to come out.

That just leaves the barrel containing the mainspring and its retaining plate on this side of the watch. Before removing this, I flipped over the movement to remove the few final components from the dial side. This includes a few small gears and the setting lever, as shown below.

Back on the reverse side, a few screws are removed and the plate holding the mainspring barrel can come out. The barrel contains the mainspring, which needs to be removed for cleaning.

The spring is coiled tightly within the barrel and can, well, spring out rather unexpectedly if you are not careful. The top of the barrel can come off easily enough by pressing the barrel against a solid surface. This will reveal the spring.

The spring must be removed carefully. I have no idea if there’s an actual tool for this. Keeping one thumb firmly on the spring, I pull the center up until it begins to feel like the spring wants to start unwinding. Then, alternating my thumbs I can guide the spring back and forth as it unravels from the barrel. Once out of the barrel, I remove the barrel arbor from the spring so that it can be cleaned separately.
I clean the watch pieces by placing the small items in small wire mesh baskets in an ultrasonic cleaner. Larger items such as the case and main movement plate can sit in the cleaner as there is no risk of losing them.
Unfortunately, after cleaning, in my attempt to get the mainspring back in the barrel by hand, a task I have succeeded at before, I bent the spring. I am now waiting on a new (old stock) spring for this watch before I can reassemble it. Rest assured, I will post a follow up once that occurs.